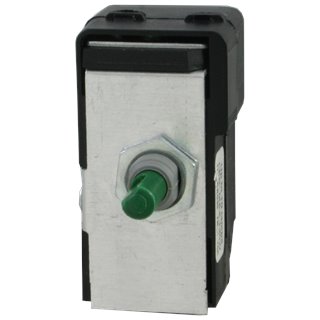
Changing the settings on Varilight V-Pro dimmers
Varilight V-PRO dimmer modules are the best on the market today, this is why we fit these modules into most of our dimmer plates to ensure you're getting the best quality dimmer you can buy.
A lot of the time, if there is an issue with this dimmer, bulbs flickering, buzzing or flashing, this could be down to the compatibility. Varilight have created a dimmer module that is designed to alter its setting suitable for your bulbs.
As there is a wide range of LED bulbs on the market today, how can dimmer manufacturers be sure to make dimmer module suitable for these bulbs? Varilight have done it. With the 3 different settings available on the module, your bulbs are more likely to comply with one of these settings.
We are regularly asked about our Varilight V-Pro dimmers, so we have written the following guide to explain how to change the settings.
Varilight have created a fantastic video (below) guiding you through the programming stages, but we've also outlined it below, in case you prefer to read rather than watch!
These popular dimmers are set to run in trailing edge mode (Mode 1), which is more advanced than leading edge mode and eliminates the buzz some dimmers emit. Trailing edge mode is suitable for many dimmable LEDs.
Mode 3 is an alternative trailing edge mode that may improve the performance of some dimmable LEDs and CFLs.
Some LEDs perform best with leading edge control, and the Varilight V-Pro can also be set to run in leading edge mode (Mode 2). If you’re not sure which mode you need, read our handy previous article about how dimmers work.
Step-by-step guide to changing between Mode 1 and Mode 2:
- Switch on and set the dimmer knob to the maximum brightness setting (fully clockwise)
- Turn the light off and on three times, leaving a second in between each press
- The lights will go up and down in brightness to show the dimmer is in configuration mode before going off
- To select Mode 2, turn the knob fully anti-clockwise. The light will flash twice to show the dimmer has been set to Mode 2
To return the dimmer to Mode 1, do the same again. The light will flash once to show it has been reset.
Step-by-step guide to changing between Mode 1 and Mode 3:
Follow steps 1-3 above.
- Turn the knob fully anti-clockwise and then fully clockwise. The light will flash three times to show it is in Mode 3.
To return the dimmer to Mode 1, repeat the process. The light will flash once to show it has been reset.
Adjusting the minimum brightness
With the Varilight V-Pro dimmer, the minimum brightness can be adjusted.
If the light is flickering when dimmed to a low level, you can increase the minimum brightness setting, which may stop this happening. You can also adjust the setting if the light is brighter than you wish when it’s at its lowest level. Just follow these steps:
- Switch the light on and set to the minimum brightness
- Turn the light off and on three times, leaving a second in between each press
- The lights will go up and down in brightness to show the dimmer is in configuration mode before going off
- Turn the dimmer fully clockwise. As soon as the light comes on, start to adjust the minimum brightness and leave at the desired level. It will be saved after three seconds
- Use as normal
Returning to factory settings
At any time you can reset the Varilight V-Pro dimmer to Mode 1 and the original brightness setting:
- Switch the light on and set to the maximum brightness
- Turn the light off and back on three times, leaving a second in between each press
- The lights will go up and down in brightness to show the dimmer is in configuration mode before going off
- Switch the light off and back on three times.
The light will come on and dim to off, before flashing once to indicate a successful reset.